There is a particular pleasure in putting a miniature you painted onto the table. It does not need to display every buckle and seam. A clear silhouette, a few related colours and a simple base can give it exactly the personality you want to play.
Start with a small assignment
Choose a miniature you like, with a few clearly defined surfaces. Decide who it is before painting: a guide, a tired sentry or a curious traveller. That small idea can help with colour choices without expanding the project.
Set out only what you need for this miniature. Finishing a modest project gives you a useful starting point for the next attempt.
Give each colour a job
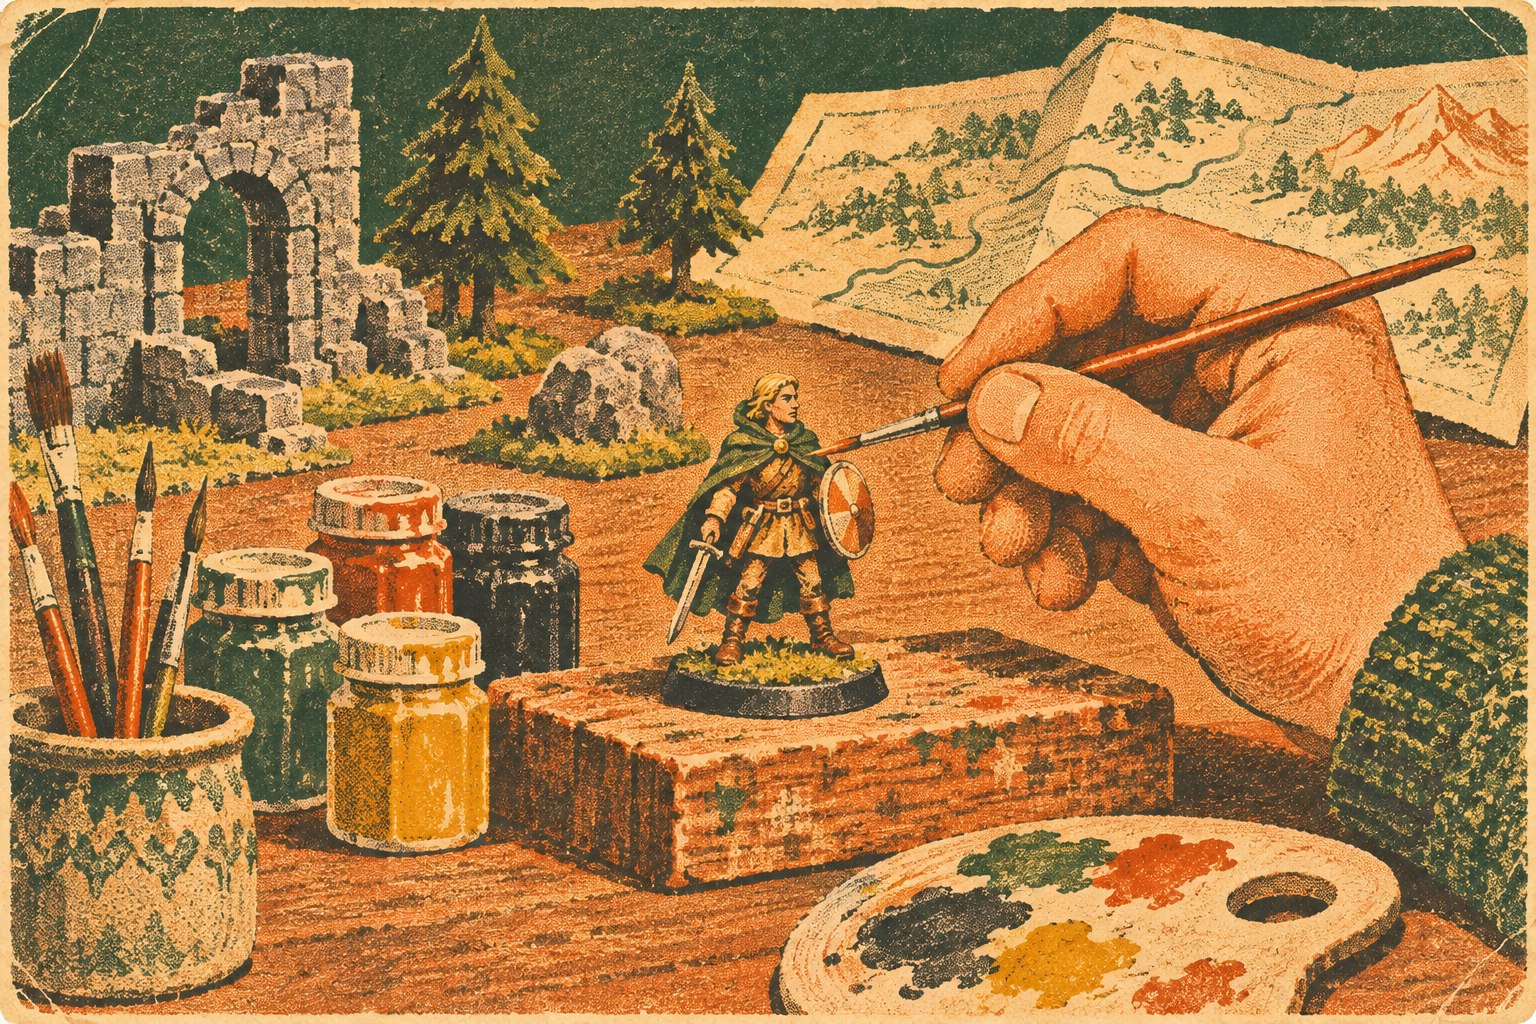
Try one main colour for the largest garment, a quieter colour for equipment and a stronger accent. A green cloak, subdued brown details and a small ochre marking can, for example, make a coherent miniature.
Make a little colour sample on spare card first. Look at the combination close up and at the distance between your chair and the game table.
Work in unhurried layers
Use paints intended for miniature painting and follow their instructions. Let a layer dry before returning to the same surface. A misplaced colour can often be corrected later; it does not have to stop the whole project.
Take a break and look from a little further away. Something that seems enormous under a work lamp may disappear when the miniature stands among terrain and other pieces.
Choose one detail to care about
It could be a shield, a cloak or a small mark on a bag. Give that area a little extra attention and keep the remainder simple. A miniature needs a focus, rather than the same amount of detail everywhere.
Let the base finish the story
A simple ground surface in a tone that suits your table can bring the whole piece together. You might write the character's name underneath. Once it joins a game, the next part of its story can develop between the map and the dice.